 Kill Cones
Required Material:
1 – 15 1/2″ Diameter Cotton Duck Circle with 1 1/8″ Diameter center hole
1 – 15 1/2″ Diameter Lightweight Cotton Circle with 1 1/8″ Diameter center hole
Note: The diameter can be larger or smaller. The finished diameter of the kill cone will be approx. 1/2″ less than the starting diameter
(ex: for a 15″ kill cone you would start with a 15 1/2″ diameter circle.)
2 – 2″ Cordura Nylon reinforcing rings with 1 1/8″ Diameter center holes
1 – 2 1/4″ Diameter 3mm thick EVA Foam Spacer with 1 1/8″ Diameter center hole
1 – #8 Grommet
Equipment needed:
An overlock sewing machine (serger),
Circle cutting template (or laser cutter)
Hot melt glue gun
#8 Grommet set.
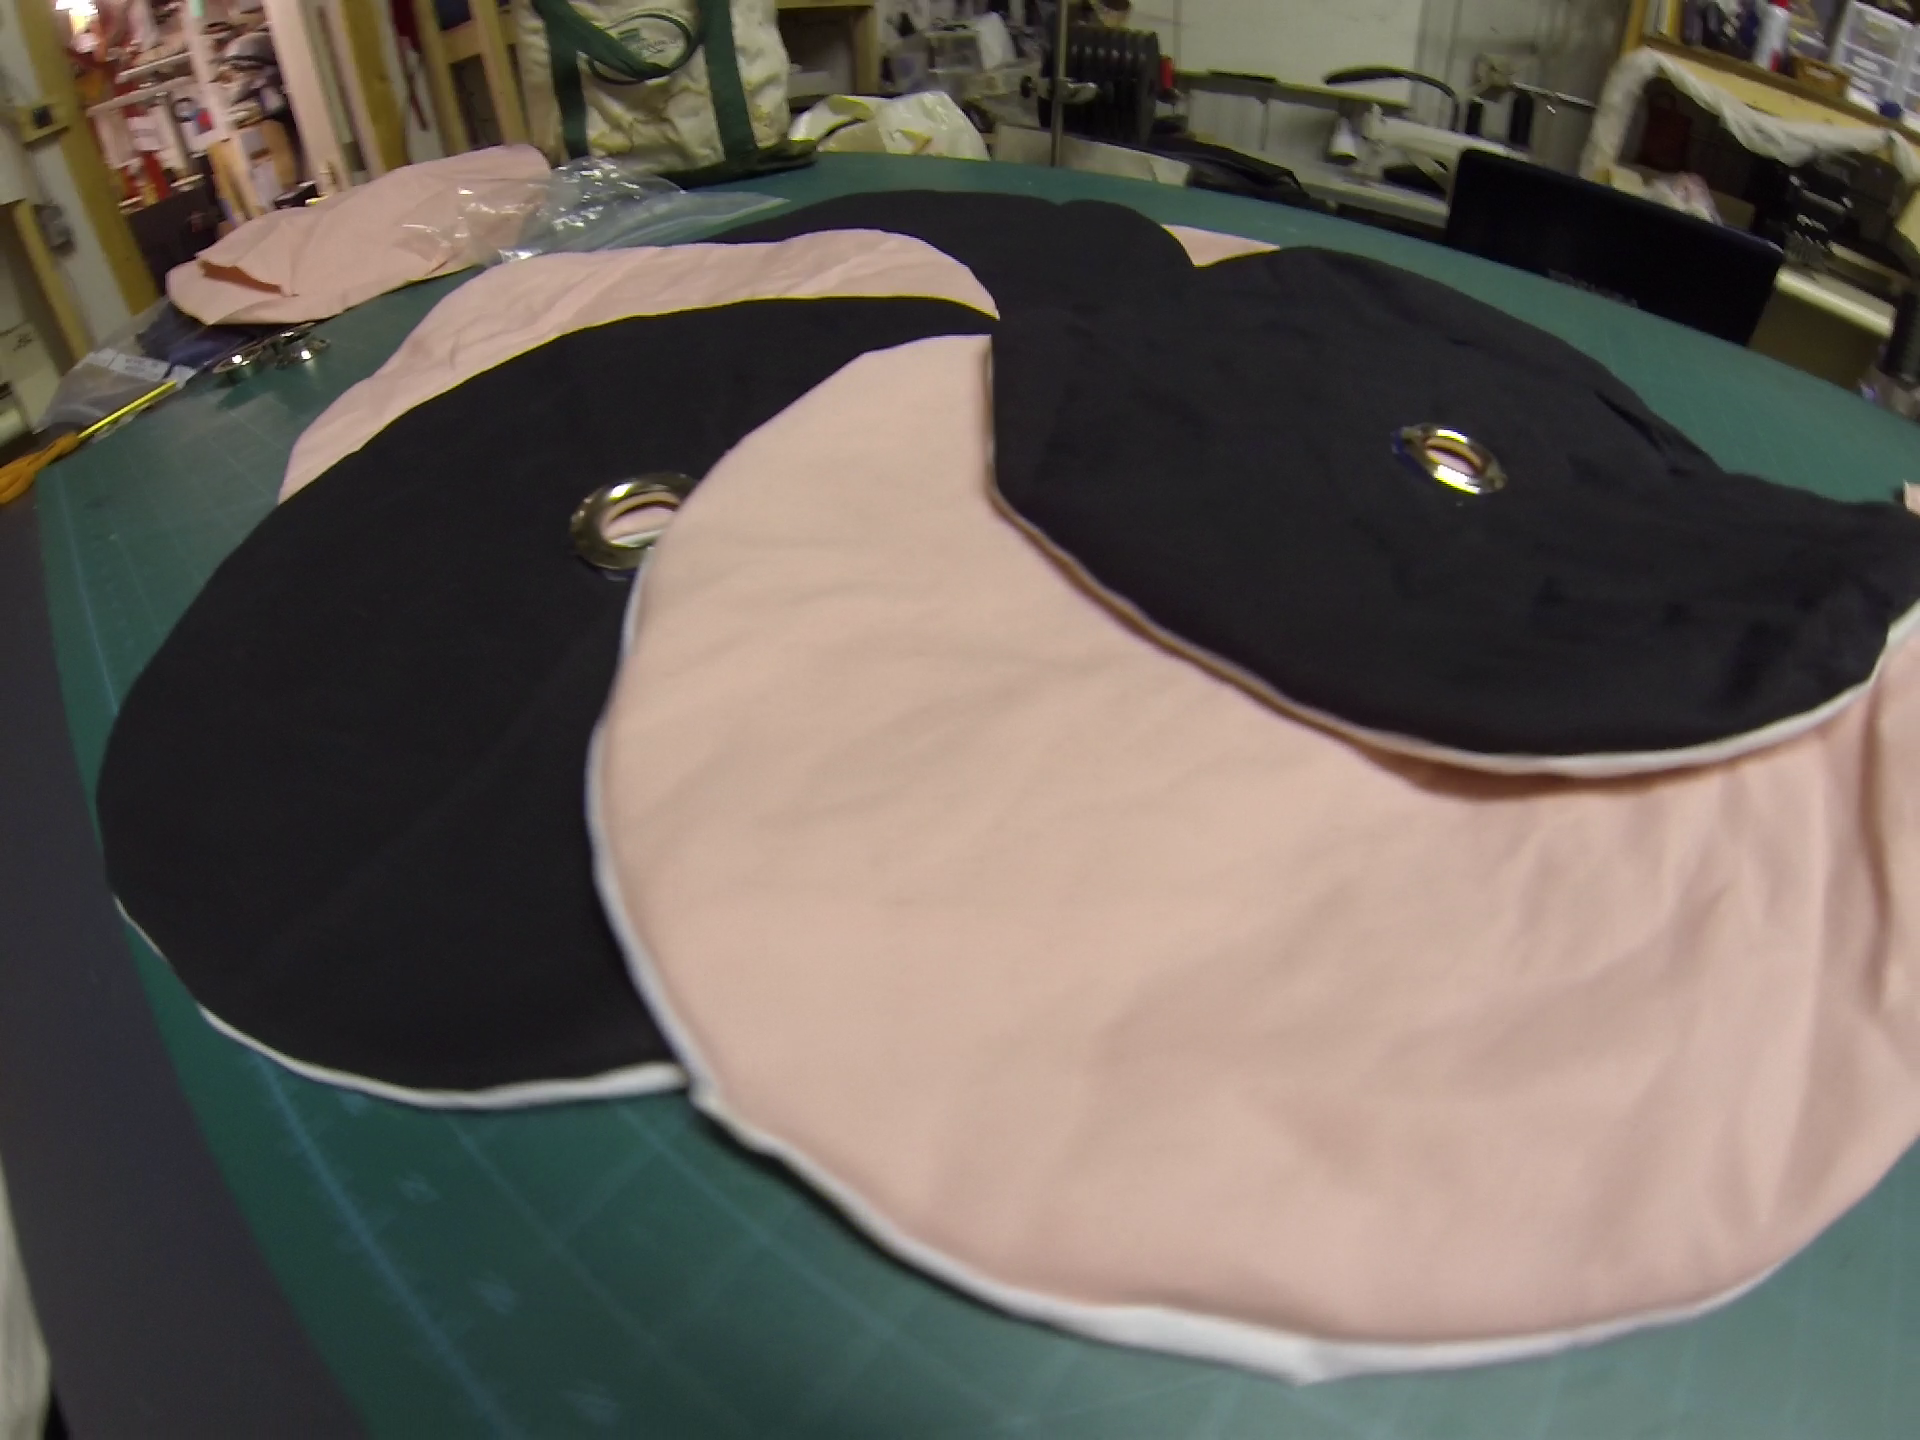
Construction Steps:
1) Overlock stitch the outside edge of the two 15 1/2″ circle panels, with the finish sides facing each other
2) Turn the sewn panels right side out, by pulling the fabric through the center hole in the Cotton Duck side (like turning a pillow case inside out.)
3) Lay flat and insert the EVA foam spacer through the center hole, and center it.
4) Hot melt glue the Cordura rings onto the top and bottom centers of the kill cone. These will act as reinforcing patches for the grommet.
5) Set the grommet into the center of the kill cone.

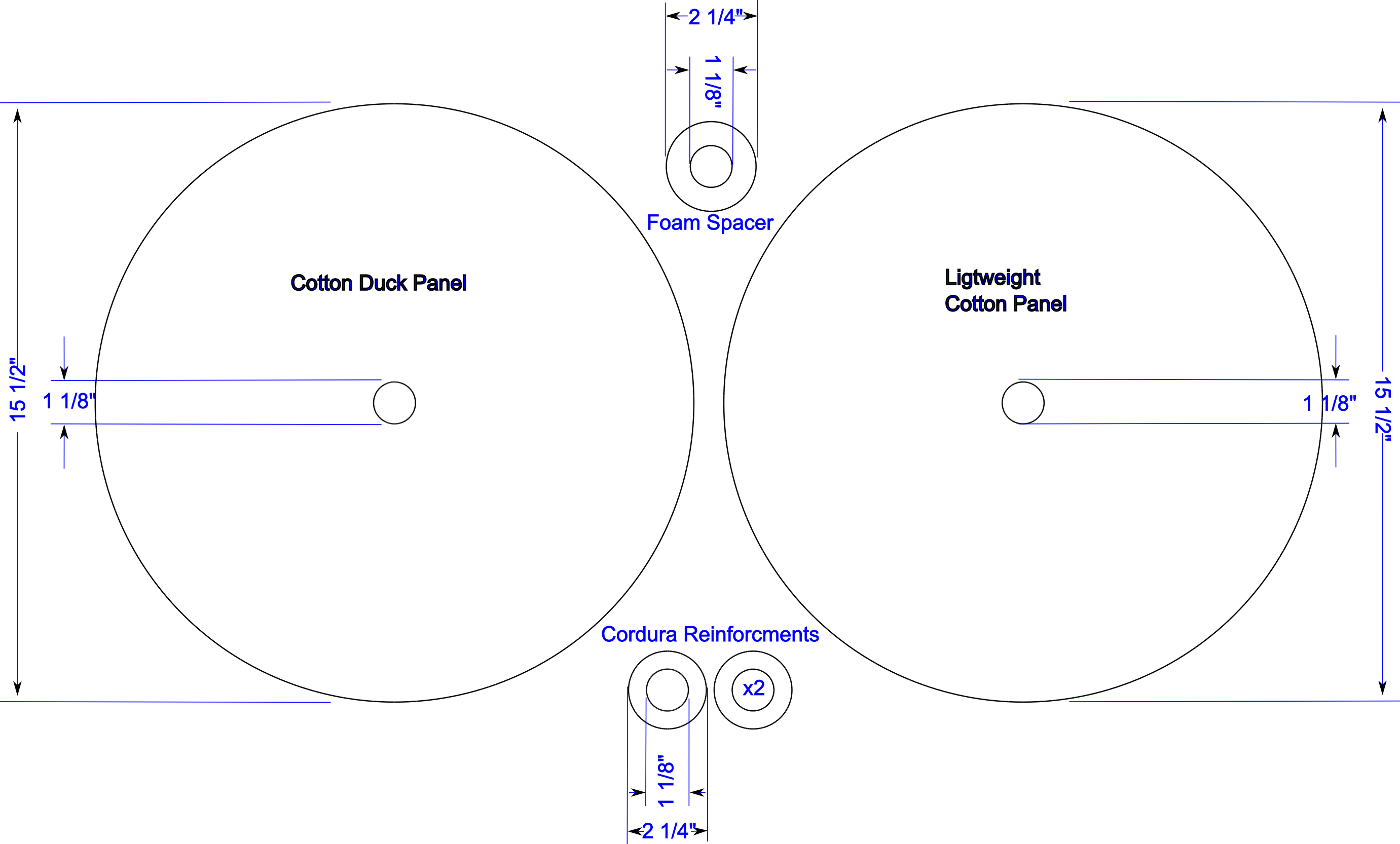 Dimensions